
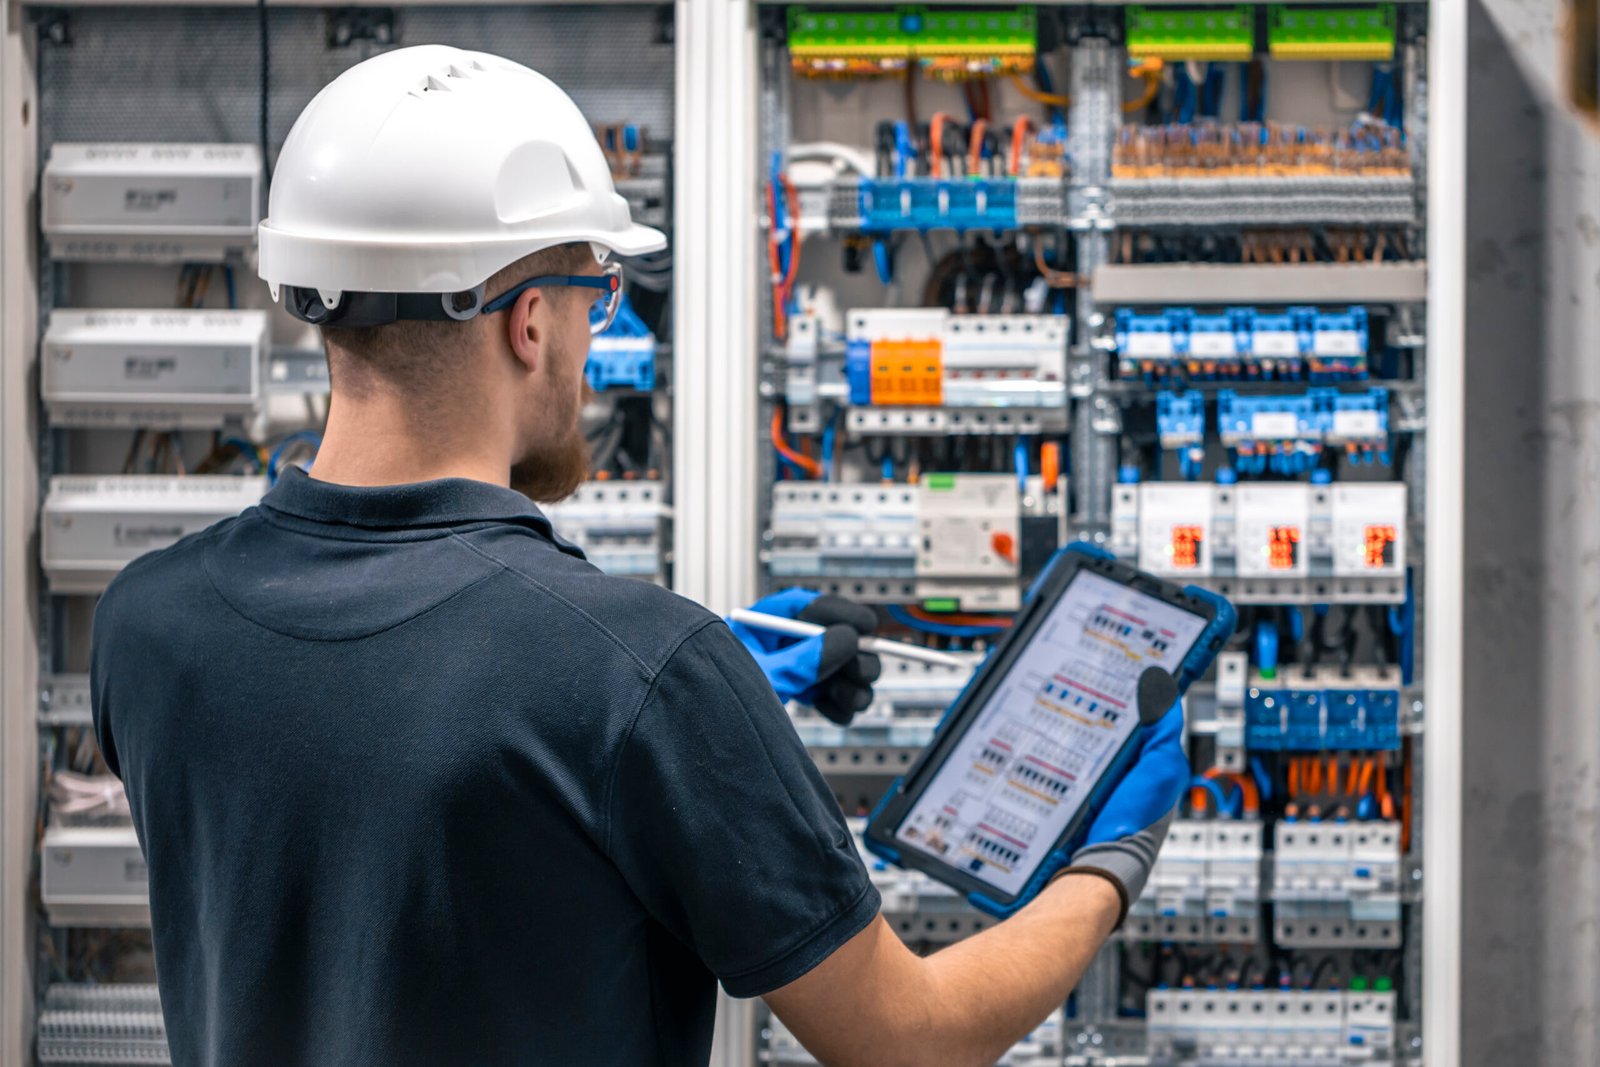
In bustling Sydney homes and offices, a flick of the switch should only mean power, not panic. Imagine booking a movie night, only for a stray hairdryer plugin to trip the circuit. That’s why professional power point Installations and upgrades are no casual DIY task. At FMZ Electrical, I’ve seen it all from frantic late-night calls about sparking outlets to savvy homeowners wanting additional power points and extra USB charging ports. In this guide, I’ll walk you through how electricians keep it safe and smooth, so your new sockets work flawlessly from day one.
First up, let’s talk about wiring rules and regulations. In Australia, electrical work isn’t like changing a lightbulb; it’s regulated by law. The Australian/New Zealand Wiring Rules (AS/NZS 3000:2018) set strict standards for electrical installations. For additional information about electrical hazards and safe work practices, see Safe Work Australia’s electrical safety guidance. Because even a small mistake can cause shocks or fires, Power Point Installations should always be carried out by a licensed electrician.
That said, electricians approach power point installations with care, treating every power point upgrade or new power point installation like crafting a little electrical fortress. We start with a plan before carrying out Power Point Installations. You might just want extra power points or a double power point installation by your home office desk, or an outdoor power point installation for the BBQ area.
Whatever you need, our first step is mapping it out. We consider what you’ll plug in (TV, fridge, laptop) and ensure the circuit can handle the load. If your home office already has a 10 A line, and you’re adding heaters or heavy appliances, we’ll upgrade to a 20 A circuit if needed. We also check surrounding wiring: no hidden pipes or cables behind the wall where we cut. A stud-finder and inspection endoscope come in handy to avoid surprises.
What Goes Into a Safe Power Point Installation?
An electrician carefully mounts a new double power point, ensuring everything is aligned and secure. The power point Installations process is methodical, with each stage completed carefully to maintain safety and reliability. First, the power is safely isolated before any work begins. We switch off the circuit breaker (or remove a fuse) and lock it out, just like unplugging a power strip at the surge protector.
Then we test twice a non-contact voltage tester on the cables, followed by a multimeter to confirm the circuit is dead. Only when the wires are verifiably de-energised do we touch a thing. This step isn’t fancy but it prevents the biggest risk: a live wire shock. (Remember Safe Work Australia’s stern advice: “only licensed or registered electricians should carry out electrical work”.)
Next, we prepare the spot on the wall as part of the power point Installations process. If it’s a new outlet, we use a hole saw (usually 75 mm) to cut the perfect circle for a wall box, or a plasterboard jig-saw for renovations. The wall box must sit flush with the final wall surface; we might attach plaster rings or drywall anchors to make it sturdy. We always fit cable clamps or grommets at the entry to protect the cable sheath from chafing. Think of it as putting protective boots on the wire as it enters the wall, a small detail that prevents chafing and future shorts.
Running the cable is where precision becomes efficiency during professional Power Point Installations. We pull 2.5 mm² twin-and-earth cable (standard for a 10 A outlet) through conduit or behind walls, depending on construction. If your kitchen or garage outlet will see heavy loads, we’ll step up to 4 mm² on a 20 A breaker.
In brick or concrete walls, that means first fixing a rigid PVC conduit and fishing the cable through it. In plasterboard, we simply staple the cable neatly every 450 mm with insulated clips, 50 mm from edges to prevent nail punctures later. Leaving ample cable “tails” (about 150 mm inside the box) makes terminations and testing a cinch.
Now comes an important part of Power Point Installations: wiring the socket itself. We strip about 10 mm of insulation off each conductor, fold back the earth wire, and carefully place brown (active) on the L/A terminal, blue (neutral) on N, and green/yellow (earth) under the earth symbol. Every screw is tightened to spec about 0.8–1.2 Nm using a torque screwdriver. Why bother? Because loose connections burn. The wiring rules (AS/NZS 3000) actually mandate that torque to ensure reliability. Once wired, we pop on the faceplate screws gently (about 0.5 Nm; just snug enough not to crack the plastic).
Finally, we test and certify every point as part of our power point Installations process. Before we leave, every new point gets tested for active/neutral polarity, earth continuity, insulation resistance and RCD operation. This is often documented in a Certificate of Electrical Safety (COES) with results and license number. In short: electricians don’t guess we verify. As one trade blog notes, installing a power point involves these precise checks under AS/NZS 3000, ensuring each outlet is safe, compliant and tested.
Planning vs. Perfect: Tools and Prep
In my experience, well-planned work saves hours. Here’s a snapshot of what a sparkie brings to the job:
Site Assessment: We map where you need outlets and check switchboard capacity (spare breakers, RCD slots).
Tools & Materials: Everything from a multimeter and lockout/tag kit to calibrated screwdrivers and cable (2.5 mm² TPS).
Documentation: A sketch of outlet locations, noting heights (AS/NZS 3000 mandates at least 300 mm from floor to centre) and distances from water sources.
Preparation: We clear space (cover furniture, lay dust sheets), label existing wires if needed, and notify if power will be down.
Safety Gear: Gloves, safety glasses, and even insulated mats or ladders all normal kit for an electrician.
This upfront legwork ensures the install goes like clockwork. Think of it like prepping a recipe: gathering all ingredients and tools before cooking. It might seem overkill compared to a quick DIY mood, but it prevents costly mistakes and delays later. For you, this means the electrician arrives ready to work, not fumbling for parts at 10 pm.
Indoor vs. Outdoor Power Points: Key Differences
| Power Point Type | Typical Use Case | Key Features/Standards |
| Single GPO | Home rooms, bedrooms, general areas | Standard single socket (2-pin + earth) |
| Double GPO | Kitchens, living rooms, offices | Two outlets on one plate; more capacity |
| USB-Integrated | Offices, bedrooms, studies | Includes USB-A/C ports alongside normal outlet |
| Weatherproof/Outdoor | Verandahs, garages, BBQ areas | IP-rated enclosure (IP53–IP66) with lockable cover |
| Switched Outlet | Kitchen cooktops, fixed equipment | Built-in switch to isolate power |
| RCD-Protected | Wet areas, high-risk circuits | Includes built-in safety switch (AS/NZS 3000) |
Each type of power point installation comes with its own safety and code requirements. An indoor power point installation generally has different environmental considerations from an outdoor outlet. For example, outdoor sockets must be weatherproof (often IP53 or higher) and installed in a special enclosure to keep moisture out.
USB outlets are hot these days. They allow direct charging without adapters, but they must meet extra safety requirements (like AS/NZS 60950) for electronics. Double vs single is mostly about how many plugs you’ll use, double points can handle two devices at once, but still on the same circuit. An electrician can also install twin RCD outlets or incorporate safety switches for extra protection in a kitchen or bathroom.
Why Hire a Licensed Electrician for Power Point Installation?
Using an experienced electrician for power point installation is not just a catchphrase; it’s about safety, compliance and peace of mind. Here’s why:
Safety First: We carry insurance and training. Every power point we install follows AS/NZS 3000, which mandates things like RCDs, correct cable sizes and secure earth connections. In other words, we prevent fires and shocks that a layperson might unintentionally introduce. For instance, leftover live screws or nicks in insulation small errors a pro avoids.
Compliance & Certification: After installation, we issue a Certificate of Electrical Safety. This is required in NSW (and most states) whenever new wiring work is done. It proves the job meets the law. Without it, you risk fines or insurance problems if something goes wrong. Safe Work Australia is clear: only licensed or registered electricians should be doing this work.
Long-Term Reliability: A tidy, code-compliant installation means your outlets can provide reliable performance for years. We use quality Australian-standard parts and test every socket. For example, we always torque terminals properly. These details help ensure each outlet operates safely and reliably over time.
Insurance and Warranty: Professional installs often come with a workmanship warranty. More importantly, by law, DIY electrical work is illegal and nullifies many home insurance policies. One cautionary note: SafeWork NSW and Fair Trading warn individuals can face heavy fines (tens of thousands) for unlicensed electrical work. When in doubt, always get a licensed electrician.
In short, hiring a licensed electrician gives you expertise, peace of mind, and legal compliance. It may feel easier to save a few dollars DIY, but the upside of safety and efficiency is worth it.
Common Electrical Installation Issues and How We Avoid Them
No job is completely routine but many problems are avoidable with experience. Here are some common issues electricians look out for during Power Point Installations, including overloaded circuits, loose connections and unsuitable mounting.
Overloading Circuits: Plugging too much into a single outlet can cause overheating. Electricians review your appliance list (fridge, heater, oven, etc.) and may split loads or upgrade breakers to prevent tripping.
Loose Connections: A loose terminal screw can heat up and cause burns or flickering. We use a torque screwdriver and double-check each nut. This also prevents one of the most common callouts: outlets that spark under load.
Improper Mounting: If a power point isn’t mounted flush, it can crack or pull out of the wall. We use correct wall boxes and fixings (rawl plugs for brick, drywall anchors for plaster) to secure the outlet firmly. No gap fiddling here.
Lack of Earth/Ground: Every GPO must have a proper earth connection. Forgetting this (or wiring it wrong) is a safety hazard. We ensure the green/yellow wire is firmly to ground and test earth continuity (should be <0.5 Ω).
Ignoring Environment: For outdoor and wet areas, we always recommend RCDs (safety switches) and IP-rated outlets. An electrician will not simply slap a normal indoor outlet outside.
| Safety Step | Helps Prevent |
| Isolate power and test circuit | Electric shock and arc-related accidents |
| Use correct cable type (2.5 mm² TPS) | Overheating and excessive voltage drop |
| Install Residual Current Device (RCD) | Electric shock from earth faults |
| Fit weatherproof box outdoors | Moisture ingress and electrical faults |
| Tighten terminals to spec | Loose connections, arcing and overheating |
By following these checks, electricians significantly reduce on-the-job headaches (and on-call emergencies later). It’s like packing lifejackets before a boat trip. A little extra effort prevents sinking.
Efficiency and Innovation: How Sparkies Work Smarter
Ever watch a journeyman at work and wonder how they make it look easy? Efficiency comes from preparation and the right tools. Instead of “guess and check,” we “plan and double-check.” For example, we often use power outlets with backboxes that can carry two devices, saving you time if you were going to upgrade to a double anyway. We also label all cables and maintain neat “cable hunts” to speed up troubleshooting later. Modern power point installations have evolved too, with options such as slimline outlets, USB-enabled GPOs and other convenient designs.
Many electricians now provide power point upgrades, including slimline or low-profile outlets that fit in narrow wall cavities and USB-enabled GPOs that replace bulky adaptors. Installing these might cost a bit more in parts (and yes, at FMZ Electrical we quote transparently beforehand), but they save wall outlets and solve charging headaches. Think of it as doing a power point upgrade: one outlet can do the work of three.
A trick electricians use is pre-wiring: in new renovations, we might lay extra conduits and “home run” cables in advance. Later, adding another outlet is just a matter of connecting to the existing loop. This is why professionals can handle power point installations and additional power points so efficiently—the groundwork is already done.
Also, cordless power tools and integrated testers make a big difference. We use multimeters and outlet-testers on the fly to verify each point is live and correct within seconds, instead of coming back later. At FMZ, our vans carry emergency spares like blanking plates, USB GPOs, and weatherproof covers so we can finish most jobs in one visit, 24/7 across Sydney.
How Much Does Power Point Installation Cost in Sydney?
Adding a double power point next to an existing one usually costs about $150 to $250. New power points that need fresh cabling through walls or ceilings typically cost $200 to $350 each, and the price per point drops when several are installed in one visit. Outdoor weatherproof points, USB-C outlets and dedicated 15A or 32A circuits for EV chargers are quoted on site. These are typical Sydney industry figures only. Costs can vary depending on your property and requirements, and your exact price is confirmed in writing after a free inspection.
Book a licensed electrician through our power point installation service. We cover Castle Hill, Kellyville, Dural, Baulkham Hills and greater Sydney.
Conclusion
We’ve covered how professional power point installations work, from planning and preparing the job to wiring, testing and final safety checks. The key takeaways? Every new power point installation in Sydney must follow Australian wiring rules (AS/NZS 3000) and be done by a licensed electrician. Electricians work efficiently by preparing in advance, using the right tools, and adhering to safety checklists, killing power, using correct cable, tightening terminals to spec, and testing each outlet thoroughly.
Whether you need additional power points for a home office, an indoor power point installation for everyday appliances or an outdoor power point installation for the backyard, professionals can ensure your outlets are safe, suitable and built to last.
In the end, tackling power point installations safely and efficiently is about blending technical know-how with a bit of common sense. It’s like cooking with a perfect recipe: follow the steps carefully, use quality ingredients (components) and you’ll end up with great results every time.
Ready for professional power point Installations or power point upgrades in your Sydney home or business? Contact FMZ Electrical today. Our local Sydney electricians are on standby 24/7, fully licensed, and equipped with the best tools and parts. We’ll handle your installation safely, answer all your questions, and get those outlets working exactly as you need quickly and professionally.
FAQs
Is it true only electricians can install power points?
Yes. Electrical outlet work in Australia must be carried out by a licensed electrician. DIY electrical work can be dangerous and may breach legal and safety requirements.
How long does a power point installation take?
It depends on the location, wiring and wall type. A simple installation can be relatively quick, while jobs involving new cabling, brick walls or circuit changes may take longer. Your electrician can assess the job beforehand.
Can electricians replace old power points with new ones?
Yes. Electricians can safely carry out power point replacement for damaged, outdated or single outlets, including double power point installation and modern upgraded designs.
What’s the difference between indoor and outdoor power point installations?
Outdoor outlets need suitable weather protection and must be installed to handle exposure to moisture and the elements. Indoor outlets generally have fewer environmental requirements.
How do I know if I need extra power points or upgrades?
If you regularly rely on extension leads or power boards, you may benefit from extra power points or an electrical outlet installation. An electrician can assess your existing setup and recommend suitable additional power points, extra power points or power point upgrades based on how you use the space.